
Plastic Shredder Maintenance Guide: Extending Blade Life and Cutting Downtime
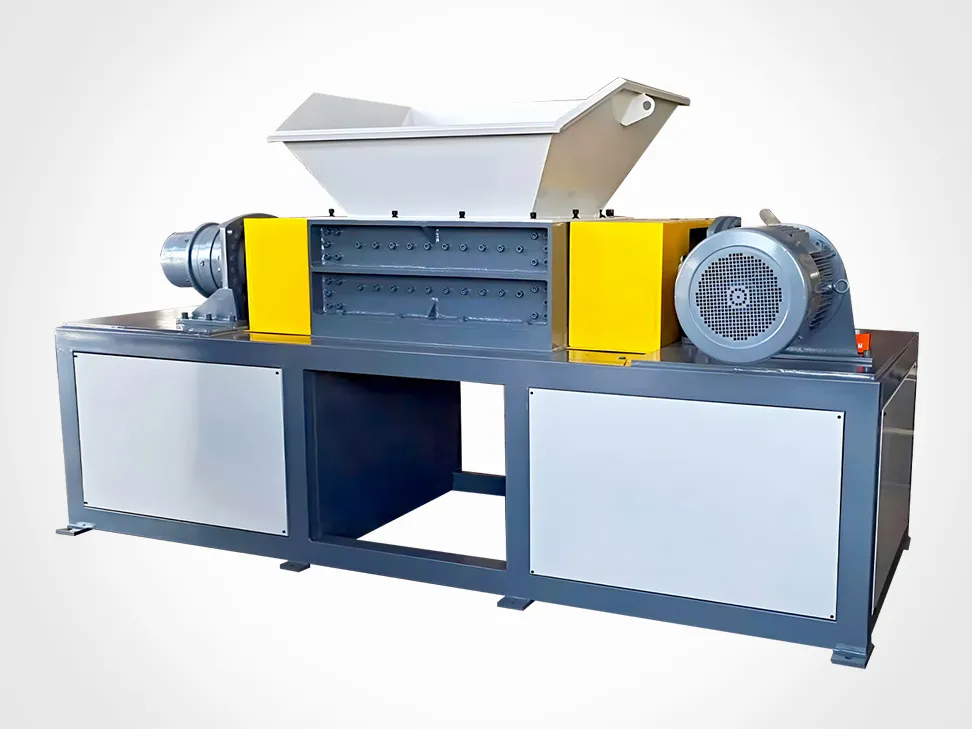
Why Blade Condition Drives Every Number on the Line
A shredder blade does not fail all at once. It rounds off gradually, and by the time output visibly changes you have already been paying for it: the motor draws more current, throughput drops, particle size drifts, and the crusher and pulverizer downstream inherit a feed they were never sized for. Treating the blade set as a tracked consumable — with a measured gap, a sharpening log and a defined replacement point — is the single largest lever on both blade life and unplanned downtime.
Industry maintenance data puts typical tool-steel blade re-sharpening at every 200–500 operating hours, with full replacement every 2–6 months on continuous duty. Reinforced PVC, glass-filled compounds and metal-contaminated post-consumer streams roughly double or triple that wear rate compared with virgin HDPE or clean LDPE film.
Setting the Blade Gap Correctly
The gap between the rotating knives and the fixed counter-knife is the first thing to get right, and it is material-specific. A gap that is too wide lets material fold and jam instead of shearing; too narrow and the blades strike each other and chip.
| Material | Recommended gap | Consequence of wrong setting |
|---|---|---|
| Rigid plastics (lumps, purge) | 0.5–1.0 mm | Too narrow: blade-to-blade contact and chipping |
| Hollow containers (bottles, drums) | 1.0–2.0 mm | Too wide: folding and rotor jamming |
| Film and woven bags | 0.3–0.5 mm | Too wide: wrapping around the rotor |
| Rigid PVC / PC profiles | 0.3–0.8 mm | Too narrow: heat build-up and edge burn |
Set the rotor blades first, then bring the stationary knives toward the rotor and verify with a feeler gauge across the full blade length. With power off, rotate the rotor by hand through a full 360 degrees to confirm no high spot makes contact.

When to Sharpen, and the Signal That Tells You
Sharpening on the calendar is a guess. Sharpening on measurement is not. Three indicators are worth logging:
- Current draw. A sustained 15% rise in baseline motor amperage at the same feed load means the blade is tearing the plastic rather than shearing it. This is the most reliable objective signal that sharpening is due.
- Edge erosion. Once the cutting edge has worn more than 0.5 mm from its original profile, particle size distribution downstream begins to shift.
- Wear depth and thickness. Measure blade thickness with a caliper against the original dimension. More than 15% loss (for example, 20 mm down to below 17 mm) means replacement, not sharpening. Check the edge angle too — the standard is typically 60° ± 2°.
As a working interval, tool-steel blades on clean HDPE or PET run 300–500 hours between sharpenings. Abrasive or glass-filled feedstock may need edge attention every 2–3 working days. SKD-11 tooling can run 500–800 hours before inspection, and carbide-tipped knives extend past 1,000 hours.
How you sharpen matters as much as when. Use a surface grinder with continuous coolant overflow and preserve the original cutting and relief angles. Manual grinding with an angle grinder is prohibited — it anneals the edge and the blade will never hold a sharp line again. Grind the full set to a uniform size so the rotor stays balanced.
Run-In, Rotation and Replacement Rules
- Run-in new sets. After installing blades, run the machine empty for 30 minutes, then stop and re-torque every bolt. Metal settles after the first thermal cycle.
- Never mix old and new blades. Different wear states create an uneven cutting circle, producing severe vibration and bearing damage. Fit, rotate or replace a complete matched set.
- Keep the weight matched. Within a set, individual blade weight should not differ by more than 5 g. Rotor radial runout should stay within 0.05 mm.
- Torque to spec. Blade clamp bolts are torque-critical — M20 fixings typically run 350–400 N·m. A loud rhythmic clanking almost always means loose clamp bolts.
- Purge before shutdown. Run the machine idle for about a minute at the end of a shift to clear residual material. Stopping with material in the chamber causes rebound and can jam the cutter shaft on restart.
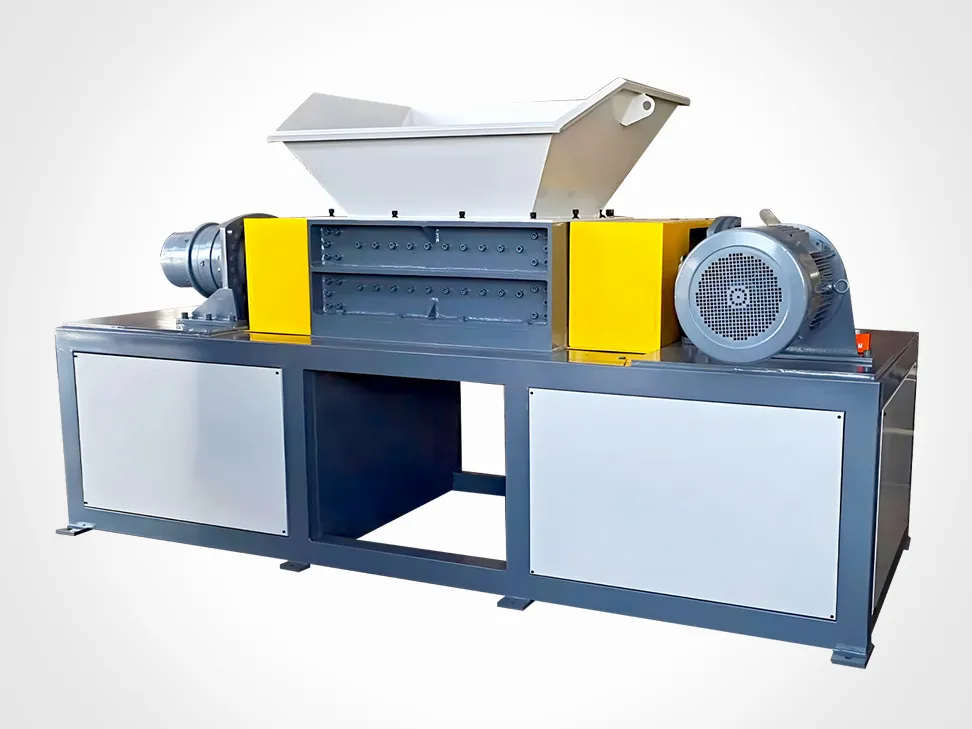
Blade Materials: Where Service Life Comes From
- D2 (AISI D2) — the general-purpose standard for plastic, balancing hardness and toughness.
- SKD-11 — better wear resistance on abrasive and filled compounds; the usual step up from D2.
- DC53 — around 62–64 HRC and roughly twice the toughness of D2/SKD-11 after heat treatment.
- Tungsten carbide tipped — substantially longer life on abrasive feed, but more brittle and less forgiving of tramp metal.
- Hardfacing — welding a tungsten carbide or specialty alloy layer onto wear surfaces on twin-shaft machines extends blade life 2–3× on abrasive feed such as dirty agricultural film.
The cheapest blade is rarely the most economical one. What matters is cost per tonne processed, which means sharpening cost, replacement frequency and the downtime each swap costs you.
A Maintenance Schedule That Actually Prevents Downtime
| Frequency | What to check | Action |
|---|---|---|
| Daily | Cutting chamber, safety systems, leaks and loose bolts | Purge residual material, clear wrapping, test E-stops and interlocks |
| Weekly (~50–100 h) | Blade gap, drive belts, hydraulic fluid, seals, electrical cabinet | Re-set gap with feeler gauge, adjust belt tension, grease pivot points, clean filters |
| Monthly (~200–300 h) | Blade wear, screen condition, drive amperage baseline, bearing temperature | Caliper the blades, blow the screen clean with compressed air, log amp readings |
| Every 500 h | Main shaft bearings and transmission | Add high-temperature lithium NLGI 2 grease until old grease is expelled |
| 1,000 h or 6 months | Reducer oil, spindle alignment, hydraulic pressure and filtration | Change or top up oil to spec, check shaft for movement or bending |
| Quarterly (~2,000 h) | Gearbox oil, structural welds, bearing vibration | Sample oil, inspect hopper and frame for stress cracks, vibration-analyse bearings |
Two bearing numbers are worth watching continuously. Keep operating temperature between 45 and 65 °C; above that, stop and check lubrication and seals before the bearing is damaged. Use the lubricant the machine was specified for — lithium-complex NLGI 2 grease for thrust bearings, and never mix brands or grades, because incompatible additives form sludge that blocks lubrication lines.
Extending the Same Discipline to Crusher and Pulverizer
Maintenance does not stop at the shredder. The three size-reduction stages wear as a chain, and neglect at the front is paid for at the back. A shredder blade running 0.5 mm past its profile hands the crusher oversized, poorly cut feed; the crusher then draws more current, produces more fines, and passes inconsistent flake to the pulverizer. Every hour of shredder neglect shows up as energy and wear on the two machines behind it — which is why the amp log for all three should be read together.
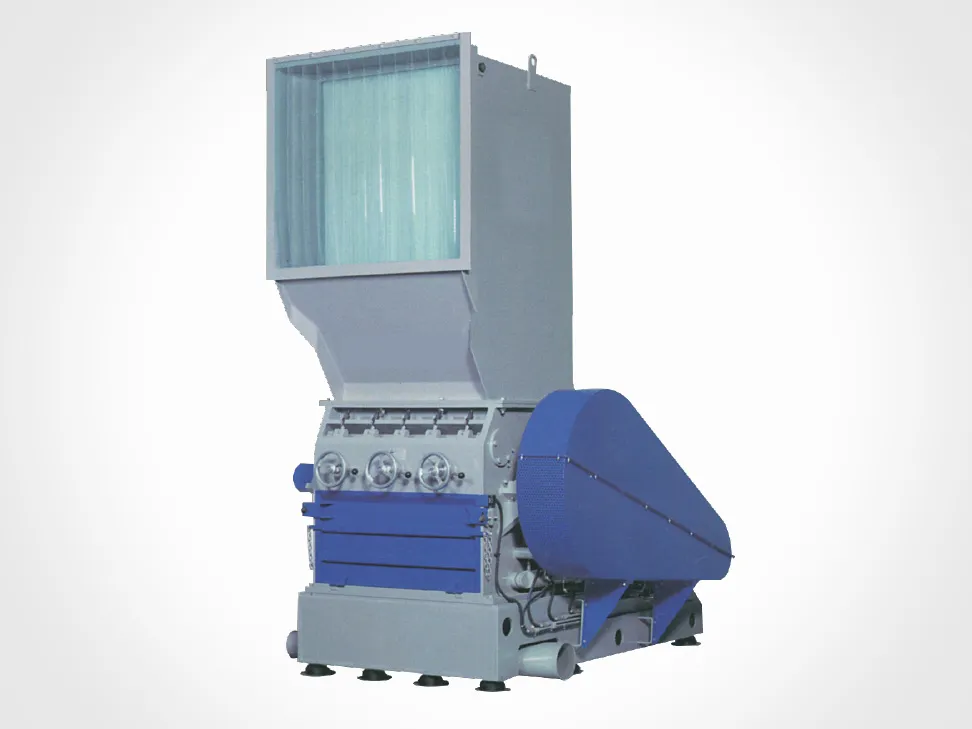
Crusher / granulator. Knives typically run 300–800 hours between regrinds, and the early warnings are increased fines in the output and a slow creep in drive amperage. Monthly, gauge the knife clearance and record the drive amp baseline; quarterly, plan for knife regrind or replacement and a screen swap. Pull the screen and blow it back with compressed air to clear clogging particles, and check that the apertures have not been deformed by impact — a distorted screen silently changes your output size.

Pulverizer. Where the line ends in powder, the grinding disc or plate gap and the classification mesh become the controlling wear items. Keep the cooling circuit in good order — PVC in particular degrades above 200 °C, and heat that the crusher tolerated will ruin powder quality at this stage. Inspect the mesh regularly, because a torn or blocked screen shifts the particle-size distribution of the finished powder before any amp reading moves.
The practical rule for a three-stage line: keep a matched spare set for the stage with the shortest wear interval, and rotate spares before the failure, not after it.
Four Symptoms Worth Reading Early
| Symptom | Likely cause | Corrective action |
|---|---|---|
| Excess dust and fines in discharge | Rounded, worn blade edges | Sharpen or rotate the matched blade set |
| Loud rhythmic clanking | Loose blade clamp bolts | Stop, apply lockout/tagout, re-torque all fixings |
| Sudden rotor stall or jam | Tramp metal or oversized feed | Clear the hopper, inspect for blade chipping, sort feed at source |
| Continuous rotor vibration | Uneven blade wear or asymmetric grinding | Regrind the complete set to uniform size and weight |
Tramp metal deserves its own note. Uncrushables are the fastest way to destroy a blade set worth thousands. Keep magnetic separators and metal detection working, and sort feed before it reaches the hopper — a single piece of steel will shorten blade life more than a month of normal production.
Safety and Spares
- Never open the cutting chamber, adjust or change blades without a full lockout/tagout procedure and confirmed zero energy state.
- Keep one matched spare blade set on site, plus hydraulic seals, a screen, drive belts and the correct grease and gearbox oil.
- Log every inspection: gap setting, blade thickness, amperage, bearing temperature. The trend line, not the single reading, is what predicts failure.
- Correct alignment matters — have motor-to-gearbox alignment verified periodically; keeping coaxial error under 0.05 mm protects bearings and couplings.
References
- Energycle — shredder blade replacement and maintenance (gap settings by material, run-in procedure, hardfacing guidance).
- Kitech — plastic recycling machine maintenance schedule and wear-part service intervals.
- Alas Machinery — blade sharpening intervals, amperage rise indicator and grinding rules.
- ARZIR — industrial shredder maintenance schedule table and harsh-condition operation.
- Tengjian — shredder daily, periodic and key-component maintenance practice.
Frequently Asked Questions
How often should plastic shredder blades be sharpened?
For tool-steel blades on clean HDPE or PET, every 300–500 operating hours is the working rule. Abrasive or glass-filled feed can need attention every 2–3 working days. Track motor amperage instead of the calendar — a sustained 15% rise at the same feed load is the signal to sharpen.
What blade gap should I use?
It depends on the material: 0.5–1.0 mm for rigid lumps and purge, 1.0–2.0 mm for hollow containers, 0.3–0.5 mm for film and woven bags, and 0.3–0.8 mm for rigid PVC and PC profiles. Always verify with a feeler gauge across the full blade length.
Can I mix old and new blades on the same rotor?
No. Different wear states create an uneven cutting circle, which causes severe vibration and can damage bearings. Fit, rotate or replace a complete matched set, keeping individual blade weight within 5 g of each other.
Why is my shredder producing more fines and dust than before?
The most common cause is rounded, worn blade edges tearing the material instead of shearing it. Sharpen or rotate the matched blade set, and check that the gap has not drifted wide.
Does shredder blade wear affect the crusher and pulverizer downstream?
Yes. An oversized, poorly cut feed makes the crusher draw more current and produce more fines, and passes inconsistent flake to the pulverizer. Keeping the shredder blade in specification is the cheapest way to protect the two stages behind it.